3DXchange5 Pipeline Test Series 12 : MMD ONIKO to iClone5.4
2013.4.13 Reported by Hirospot (Personal Site)
|
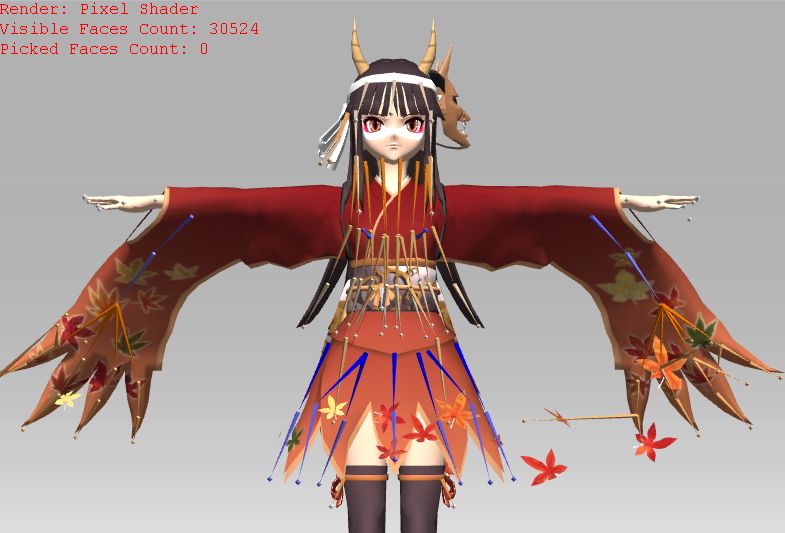
Working on Furisode Kimono Model ONIKO with Extended Bones |
|
|
|
|
 印は日本語でのレポートです 印は日本語でのレポートです |
|
|
|
In the 3DXchange5.4, basic Characterizing process for iClone Non-Standard Models and further mapping to Extended Bones are found as very well organized.
Also, the Spring Effect applied to many parameters can be always confirmed by realtime previewing, that makes our selection and setting of
translate or rotate, mixing and further adjustment very flexible.
This is a simplified second report for the previous Test Series 11 in which step by step process for the Bone Mapping to the MMD Extended Bone Model was recorded.
|
|
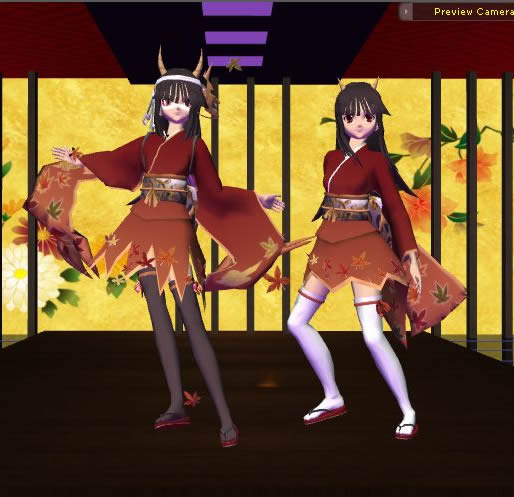
It is worthy of attention how the
Furisode (Long Sleeve Kimono) model with Extended Bones are performed, thus, HINOMOTO ONIKO, the Special Appendix Model in MMD Second Pack magazine was selected in this report.
Special thanks for the use of ONIKO, Mr.Kio, Hinomoto Oniko Project Team and Magazine.
|
(Note) This Report is a record of my personal practice and not meant as a tutorial. |
Products used in the report |
Product Version |
Notes |
| (a) PMDEditor |
0139 |
Released on 2013/3/11 |
| (b) ColladaExportPlugin.dll |
1.0.0.0 |
See Details in the Report #4 |
| (c) FBX Converter 2013 |
7.3.0 |
Autodesk FBX web site |
|
| 3DXchange5 Pipeline |
5.41.1525.1 |
Reallusion (5.4 New Features) |
| iClone5 Pro |
5.41.2802.1 |
Reallusion (5.4 New Features) |
|
|
| |
1 |
Preparing FBX file for ONIKO |
1.1 |
Preparing MMD model with Extended Bones |
| |
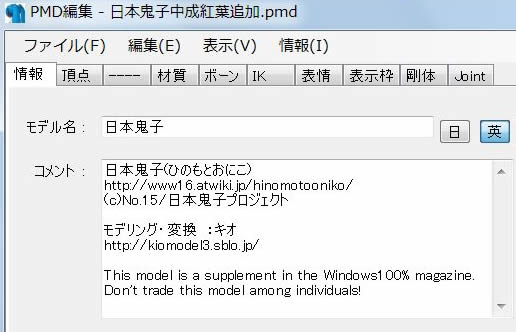
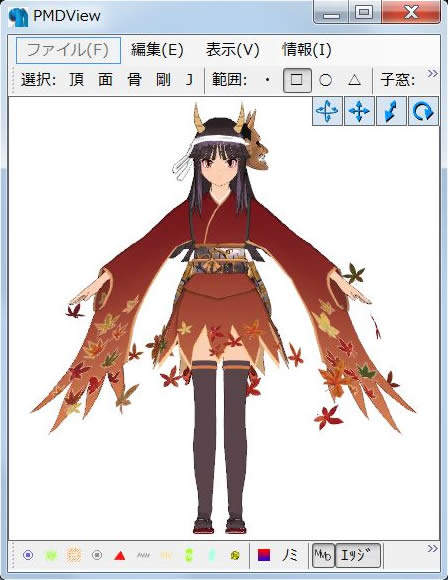
1) Open .pmd file of ONIKO in PMDEditor with COLLADA dae plugin. |
| |
PMDEditor : Model Appearance
|
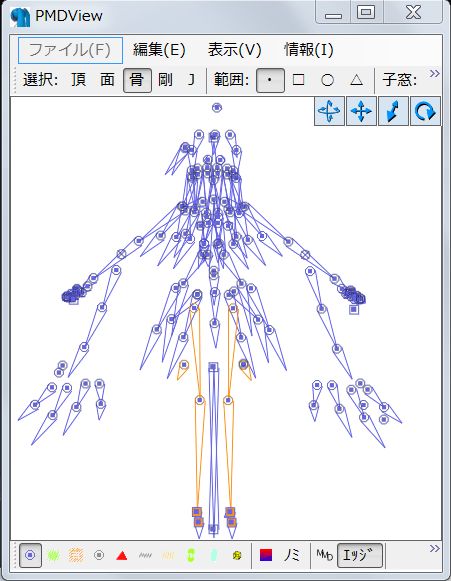
PMDEditor : Bones in the Model
|
|
| |
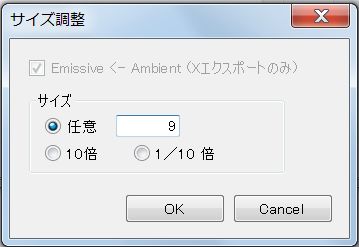
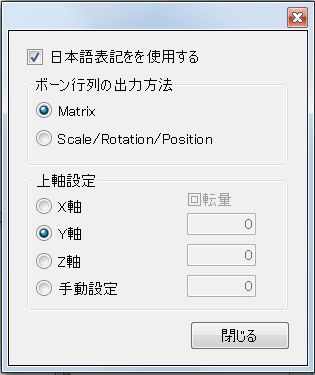
2) Set the model size, and assign Japanese notation. |
| |
|
| |
3) Use Autodesk FBX Converter2013 to convert .dae to .FBX. (Datails in Report#4) |
| |
|
| |
|
2 |
Using 3DXchange5.4 (Notation in Japanese letters) |
|
1) Open 3DX5.4. Go to File/Open and import MMD Model FBX file. (oniko.fbx) |
| |
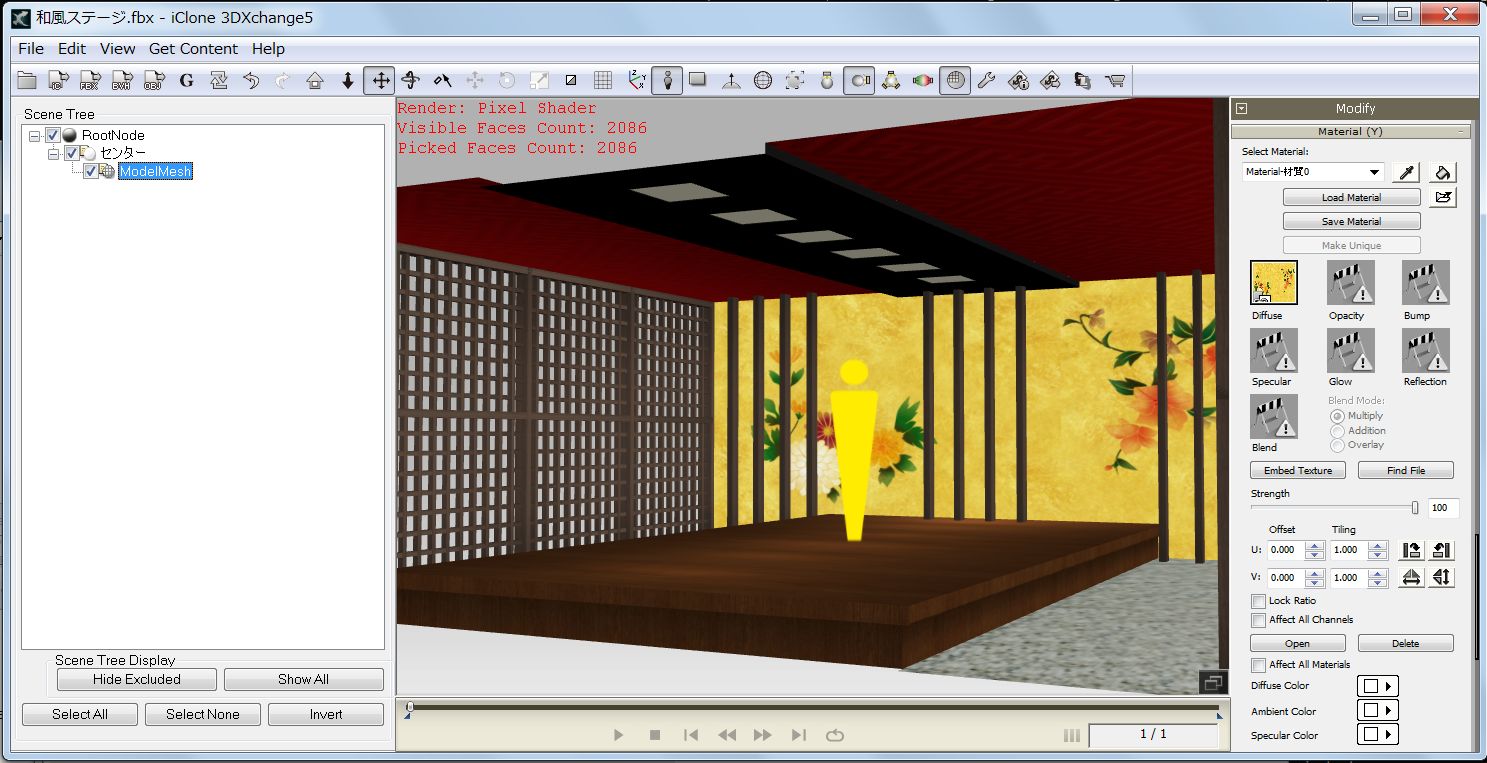
2) Go to Mody/Material, change the Specular value to '0' for all materials. |
| |
Use dropper tool (Pick) to identify each materials. Set Specular value to 0.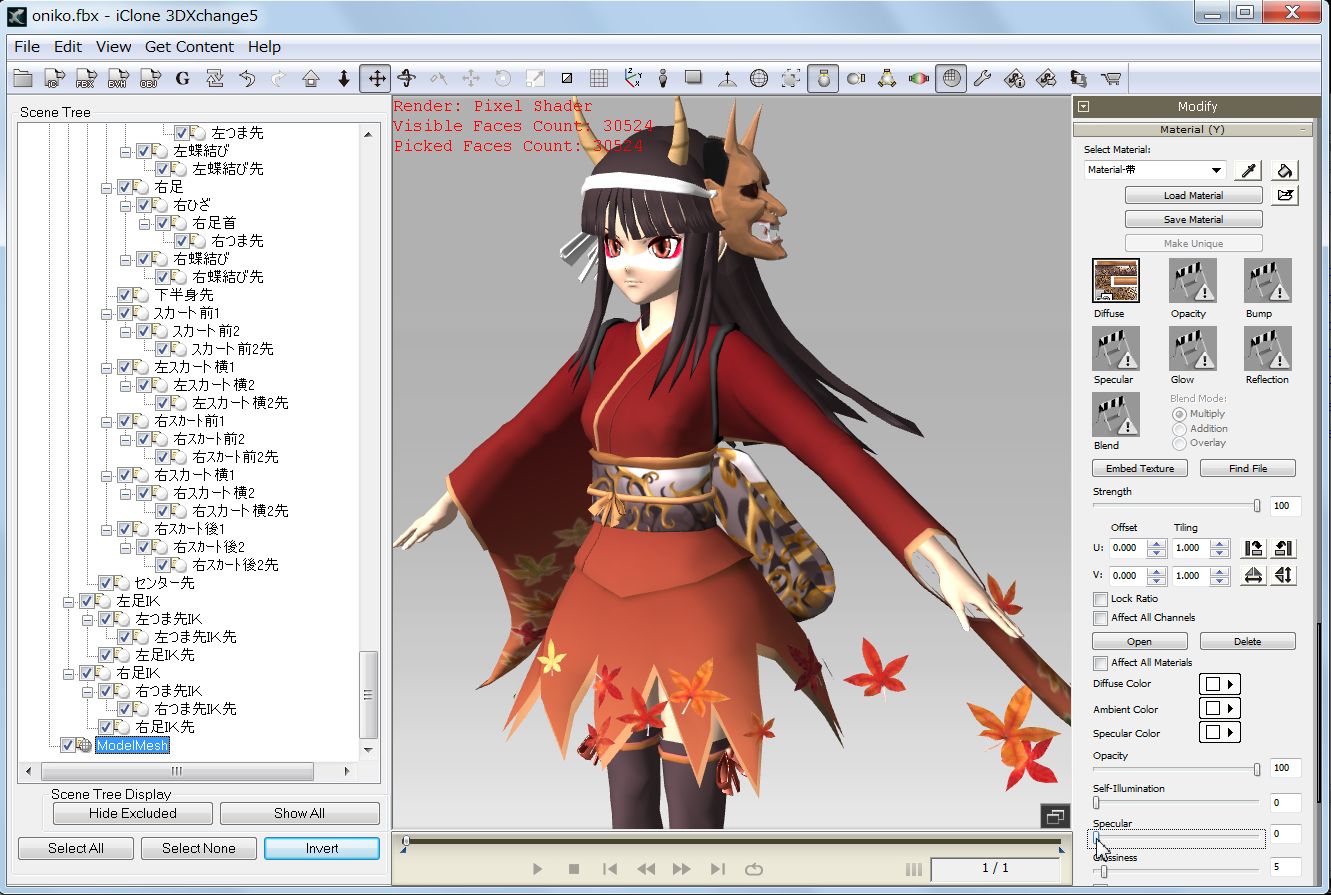
|
| |
|
2.1 |
Characterization |
|
1) Go to Modify/Character(N)/Character Setup and click 'Convert to Non-Standard' button. |
| |
2) Confirm the model size by using Dummy tool. |
| |
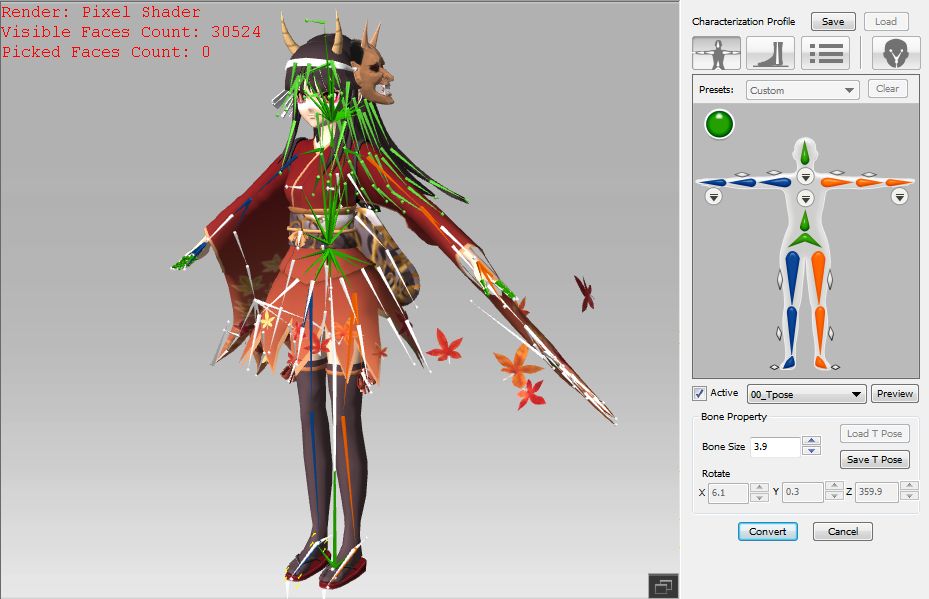
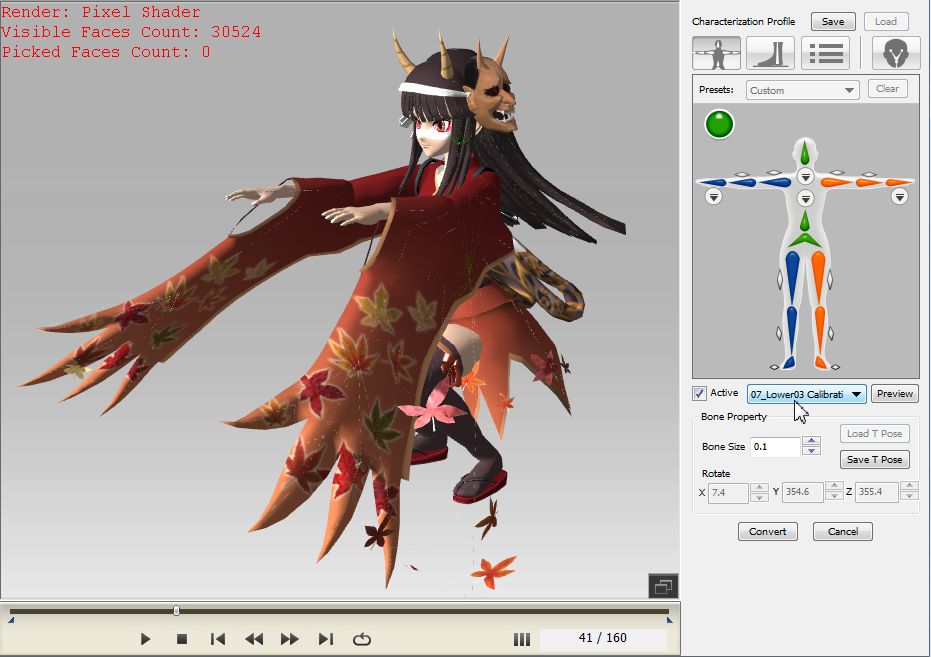
3) Set Presets for Custom, map iClone bones to only basic bones in MMD Model. |
| |
4) Hips bone must be mapped to the Armature「全ての親」bone of the MMD model. (Report#11) |
| |
5) Check Active. |
| |
|
| |
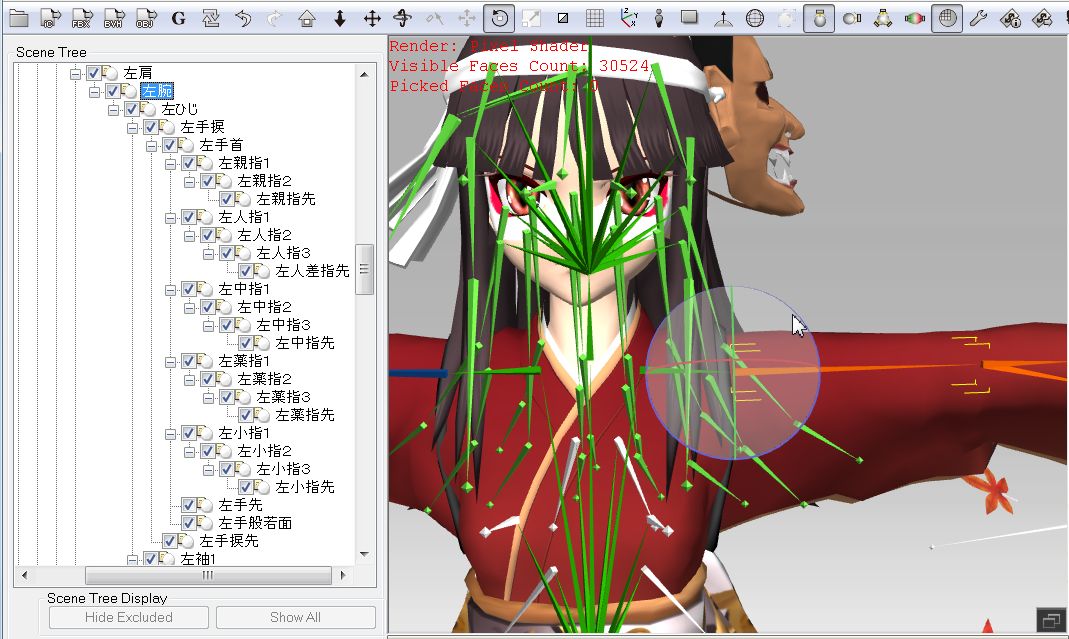
6) Select Upper Arm bones and make a T-Pose. |
| |
|
| |
7) Select Motion Calibration, preview and confirm the model movement. |
| |
|
| |
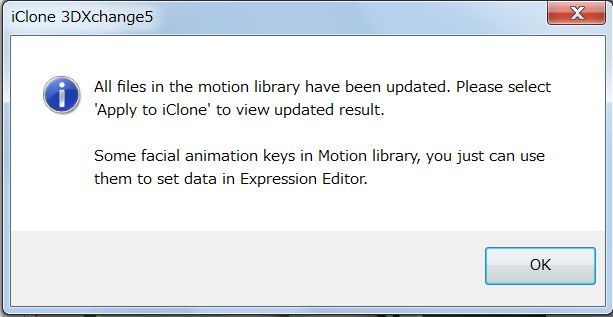
8) Click 'Convert' button. Follwing message will appear. Click 'OK' button. |
| |
|
| |
9) Use 'Apply to iClone' button to keep the basic model in iClone5.4 |
| |
|
2.2 |
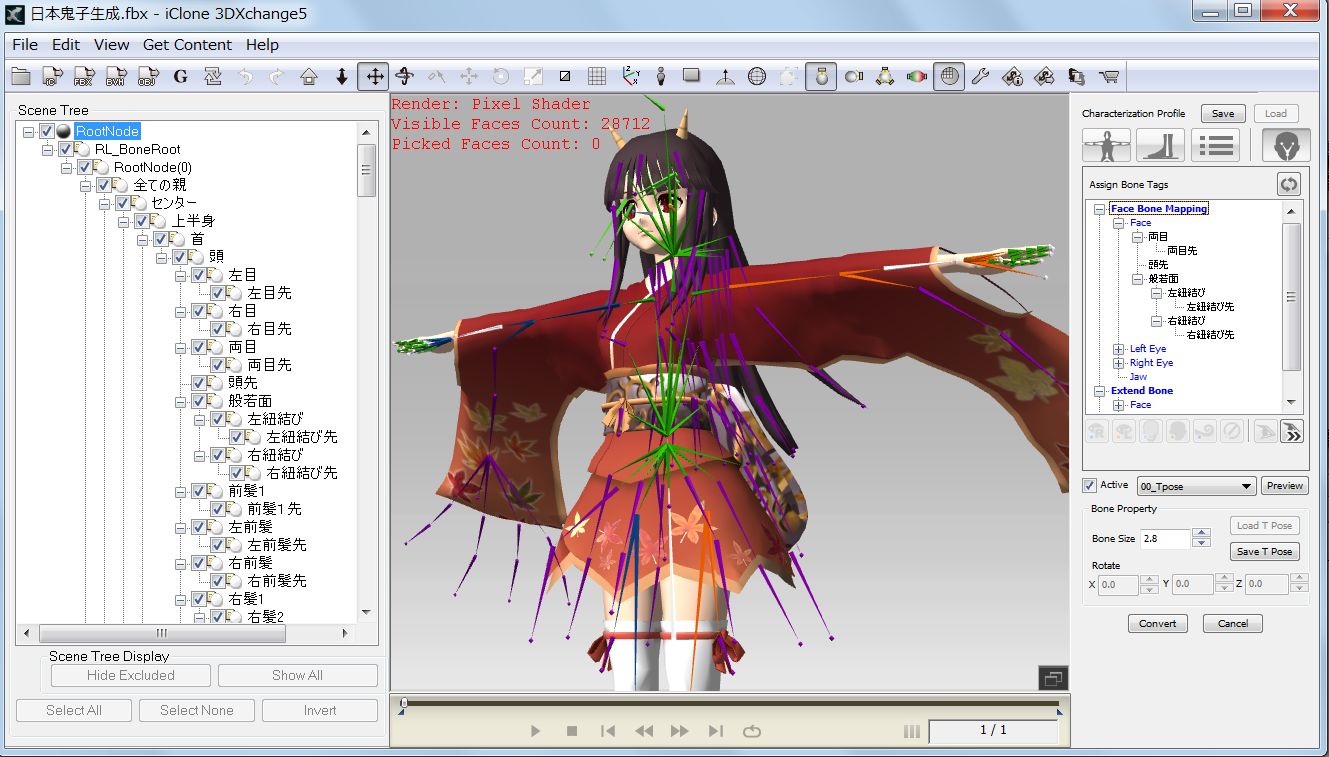
Mapping to Extended Bones (New) |
| |
【Note】 When Characterized, Face Setup/'Expression Editor' button appears. |
| |
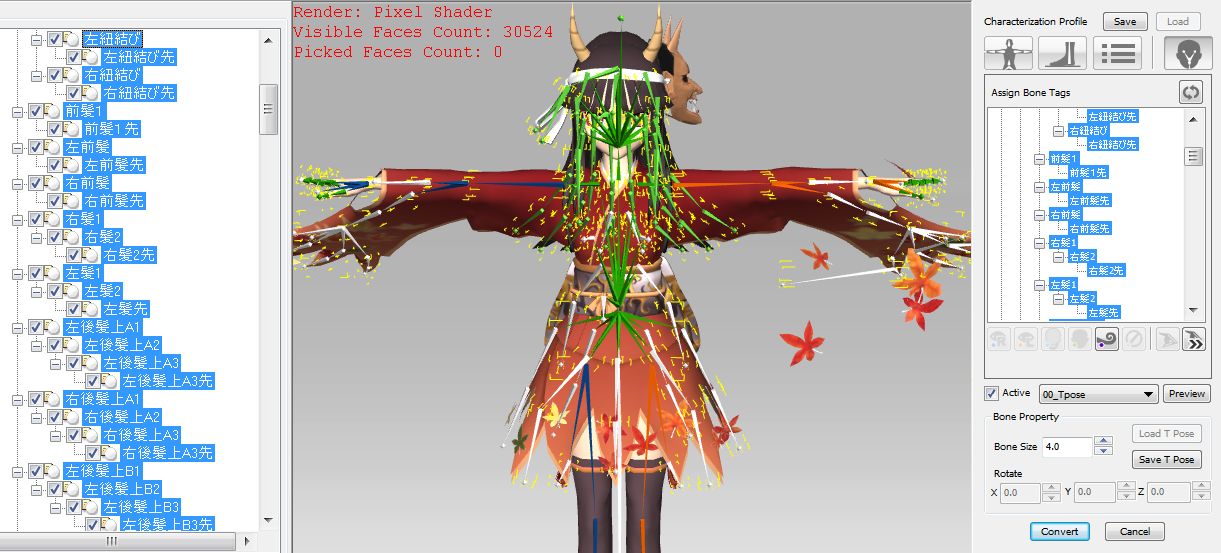
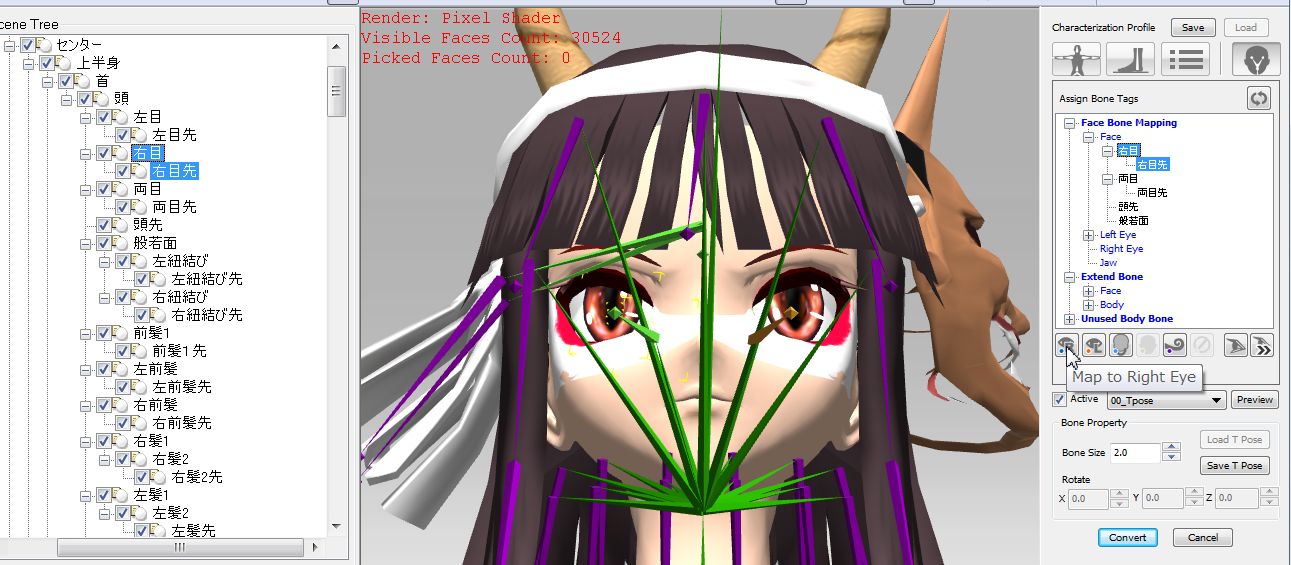
1) Select all the extended bones in hairs, skirt and kimono sleeve of the model except eyes. |
| |
|
| |
2) Click 'Map to Extend Bone' icon. Mapped bones turn to purple color. |
| |
3) Repeat this process until all extended bones are mapped. |
| |
4) Use 'Map to Right/Left Eye' for eye mapping. |
| |
|
| |
5) Click 'Convert' button, go to Modify/Spring and click 'Edit Spring' button. |
| |
6) Confirm that all the mapped bones are shown in white color. |
|
|
2.3 |
Spring Activation for body parts |
| |
【Note】
Spring Activation can be done for each group bones.
1) Hair bones (Front & Back)
2) Kimono Sleeves (right & Left)
3) Webbing Straps
4) Skirt
5) Breasts
6) Eyes
These Group selection is easy as the Notation is shown in Japanese letters.
Set the Spring Type by the nature of materials and Preview observation.
Click 'Apply' button when each group Activation is finished.
(When the result is not satisfactory, go back to Edit Spring again.)
|
| |
Tentative Setting values are shown in the following tables: |
| |
1) Hair bones Activation (Front & Back) |
| |
| Back |
Spring Type |
Soft/Hard Slider |
Group Setting |
Mass |
Strength |
Bounciness |
| Group1 |
Rotate |
7 |
6 |
6 |
6 |
Group2 |
Rotate |
4 |
5 |
5 |
5 |
Group3 |
Rotate |
1 |
5 |
5 |
4 |
Front |
Spring Type |
Soft/Hard Slider |
Group Setting |
Mass |
Strength |
Bounciness |
oniko_a |
Translate |
7 |
1 |
9 |
7 |
oniko_b |
Translate |
4 |
1 |
8 |
6 |
(Natural movement of the Front Hair needs to be studied.)
|
| |
2) Long Kimono Sleeves (oniko-a|oniko-b) |
| |
| |
Spring Type |
Soft/Hard Slider |
Group Setting |
Mass |
Strength |
Bounciness |
Group1 |
Translate |
7 |
|
6 |
|
6 |
|
6 |
|
Group2 |
Translate/Rotate |
3/8 |
T3 |
5/5 |
3 |
5/5 |
3 |
5/4 |
5 |
Group3 |
Rotate |
8 |
|
5 |
|
5 |
|
4 |
|
Group4 |
Translate |
7 |
|
5 |
|
5 |
|
2 |
|
|
| |
3) Webbing Straps |
| |
| |
Spring Type |
Soft/Hard Slider |
Group Setting |
Mass |
Strength |
Bounciness |
Group1 |
Rotate |
3 |
6 |
6 |
4 |
|
| |
4) Skirt |
| |
| |
Spring Type |
Soft/Hard Slider |
Group Setting |
Mass |
Strength |
Bounciness |
Group1 |
Translate |
8 |
11 |
4 |
3 |
Group2 |
Translate |
4 |
11 |
4 |
3 |
| |
|
|
|
|
|
|
| |
5) Breasts |
| |
| |
Spring Type |
Soft/Hard Slider |
Group Setting |
Mass |
Strength |
Bounciness |
Group1 |
Translate |
5 |
6 |
7 |
3 |
|
| |
oniko (nakanari)
 |
2.4 |
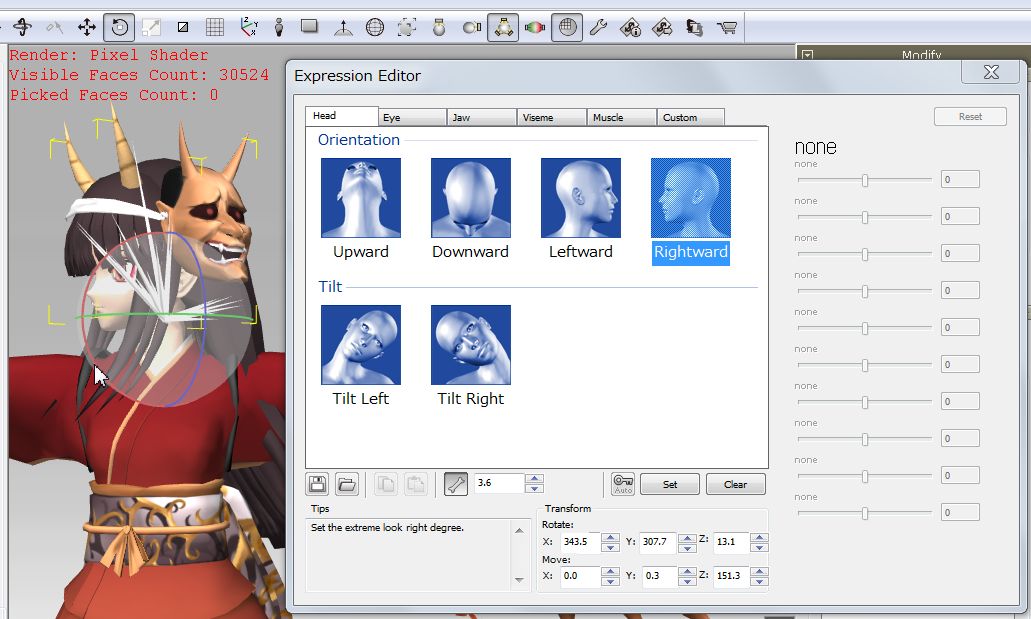
Face Setup/Expression Editor |
| |
【Note】
When all Extended bone in body parts are mapped and converted
to Non-Standard Character, 'Expression Editor' can be used for Head. |
(1) |
Head Motion |
| |
1) Click 'Expression Editor'. Select Orientation in the 'Head' tab. |
| |
Use 'Rotate Object' and click 'Set' button after each angle is set.
|
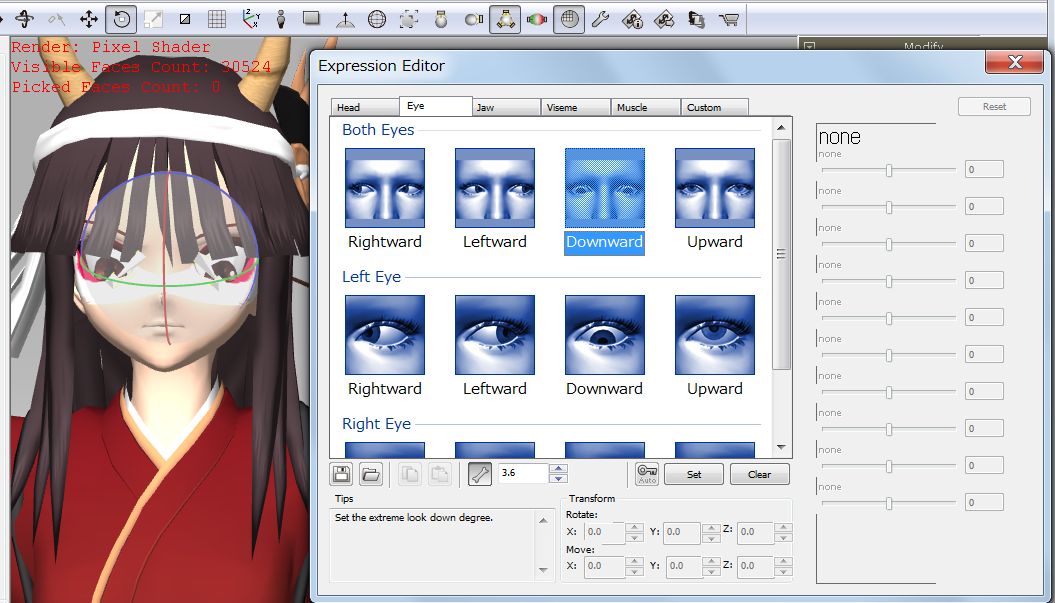
(2) |
Eyes Motion |
| |
1) Select Eye tab. |
| |
Use 'Rotate Object' and click 'Set' button after each angle is set.
 |
| |
2) Close the Expression Editor Panel. |
| |
3) Go back to Modify/Convert to Non-Standard. |
| |
4) Push 'Apply' botton when all works are finished |
| |
|
3 |
Preparing Another ONIKO |
| |
There are two characters for ONIKO. (Sharing the same Bone Structure) |
| |
oniko (namanari)
|
| |
|
4 |
Preparing Stage |
| |
1) Export the Stage file as Props and save it in Custom/Prop folder. |
| |
Created by Mr. Yuduki (MMD Second Pack magazine)
 |
| |
|
5 |
Preparing Sound |
| |
1) Find any sound in the Web sites for the dance scene .
|
| |
2) Save the .mp3 file into Sound/Music folder. |
| |
|
| |
|
|
Making Test Video in iClone5.4 |
| |
1) Compose Demo Video story to express Furisode Charm. |
| |
2) Go to Set/Props/Content Manager/Custom and open the Stage. |
| |
3) Locate MMD models on the Stage and add Lights, Cameras, etc. |
| |
4) Open target sound and set the animation frame length at the Time Setting Panel. |
| |
5) Try several Motion clip in the Animation/Motion/Content Manager/Template. |
| |
6) Select motion clips to be fit for the use of demo video. |
| |
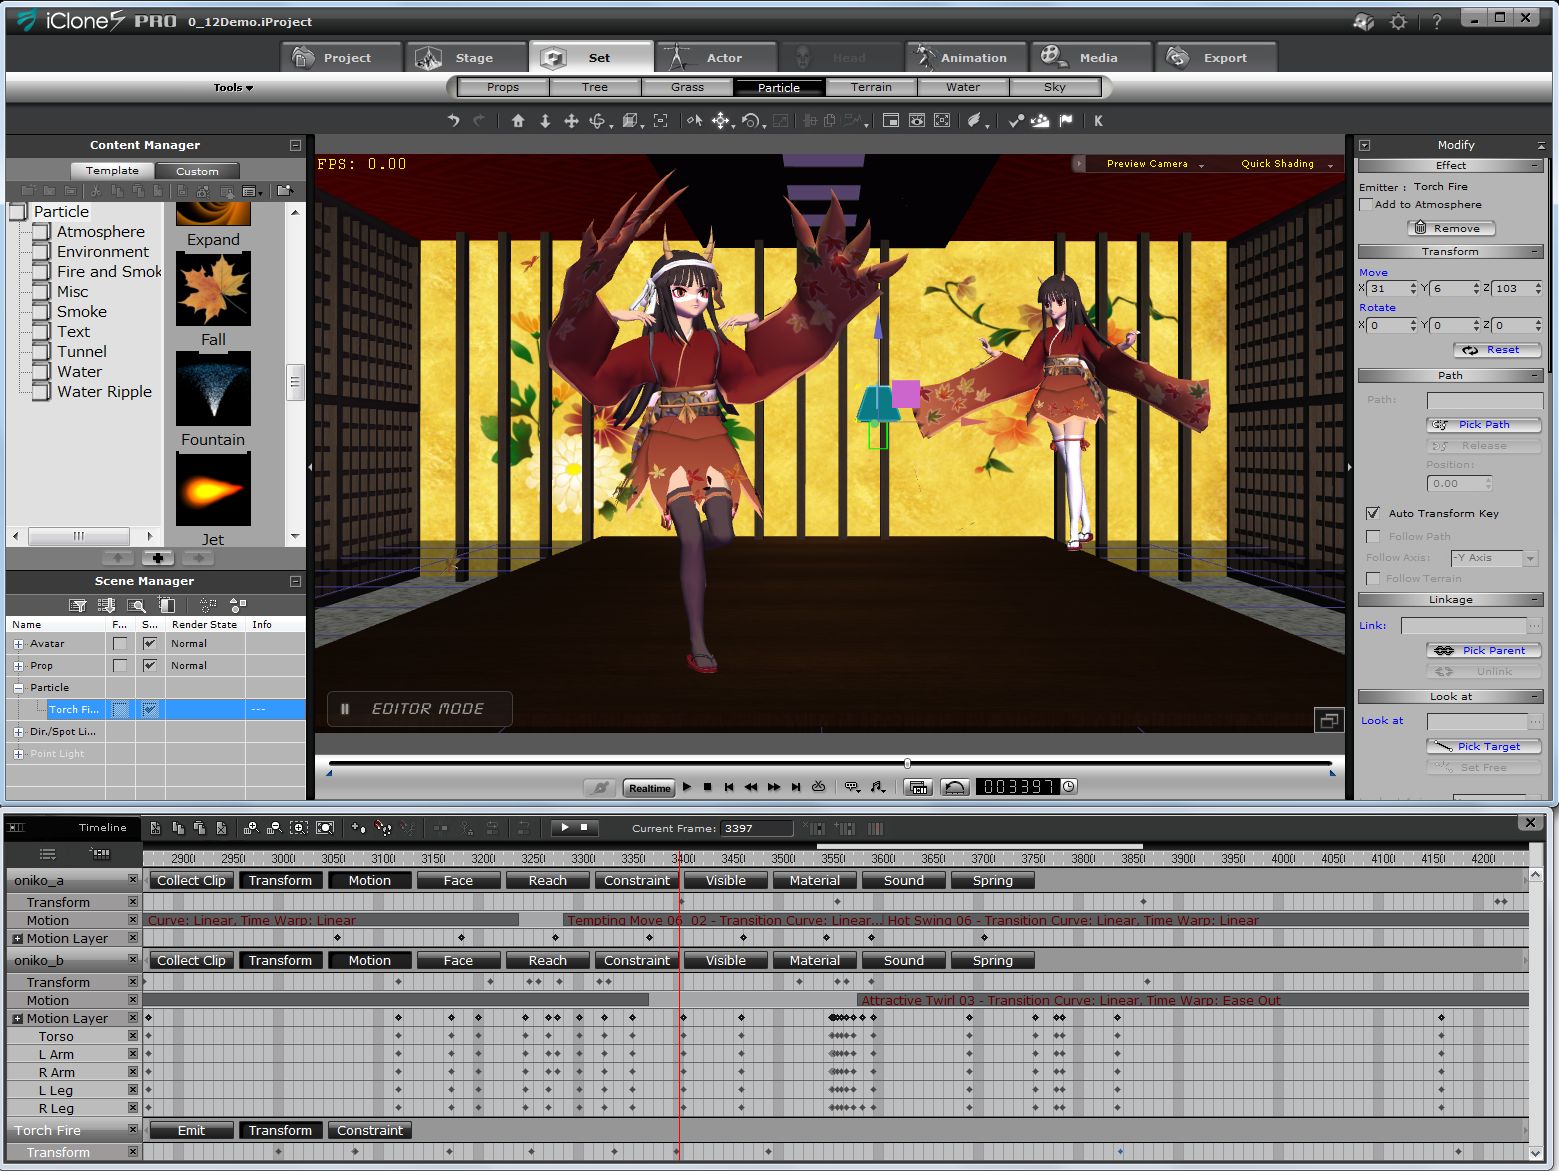
7) Allocate animation motions to the model in the time frame. |
| |
8) Synchronize the model motion to the music by adjusting each clip length accordingly. |
| |
(Example) List of Applied Motions on the Timeline
oniko-a |
Frame number |
Applied Motion |
56-650 |
Tempting Move 02 |
660-1212 |
Tempting Move 01 |
1290-2084 |
Tempting Move 04 |
2094-2661 |
Tempting Move 05 |
2667-3235 |
Tempting Move 05 |
3283-3599 |
Tempting Move 06-02 |
3599-4845 |
Hot Swing 06 |
4845-5880 |
C066-Passhonate Step03 |
|
|
oniko-b |
Frame number |
Applied Motion |
NA |
NA |
492-1848 |
Idle_01(0) |
NA |
NA |
2014-3365 |
Idle_01 |
NA |
NA |
NA |
NA |
3573-5697 |
Attractive Twirl-03 |
NA |
NA |
|
|
| |
|
| |
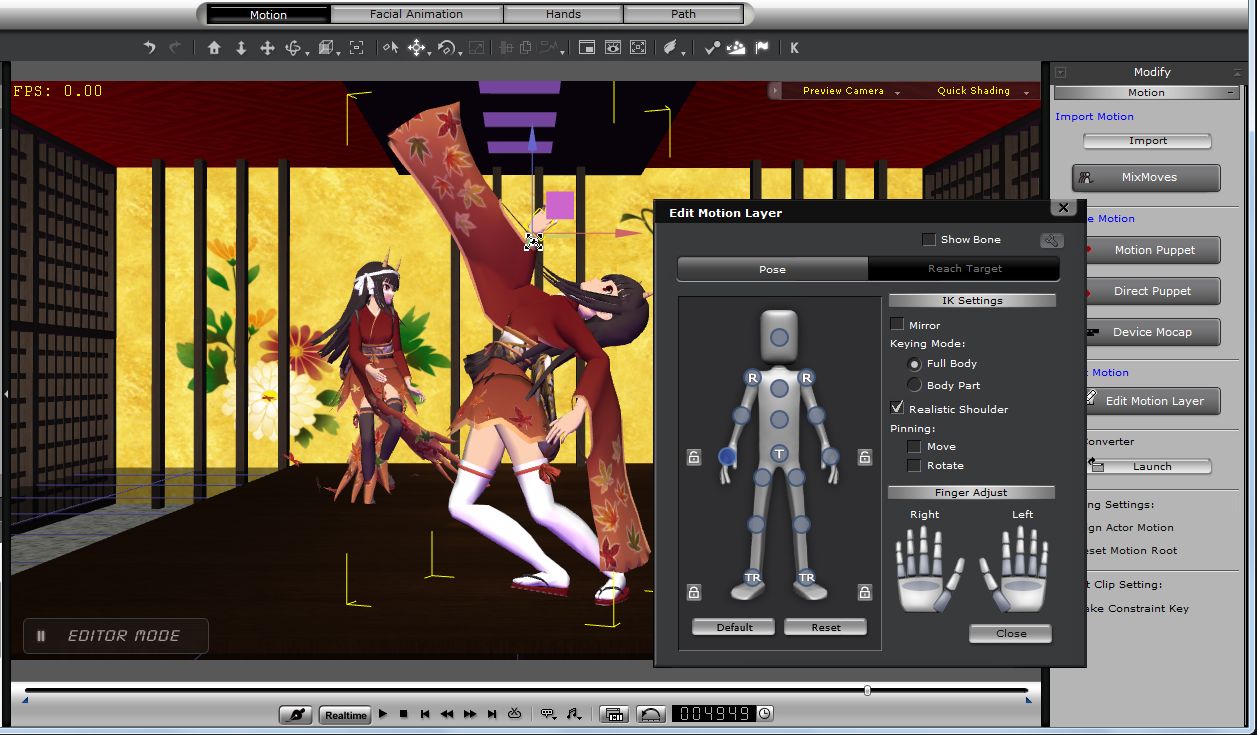
9) Open Edit Motion Layer, select body part and add extra move, if needed. |
| |
10) Apply Transition Curve to look motion flow natural. |
| |
|
| |
11) If the model activity is not satisfactory, fix the part by editing the bone. |
| |
|
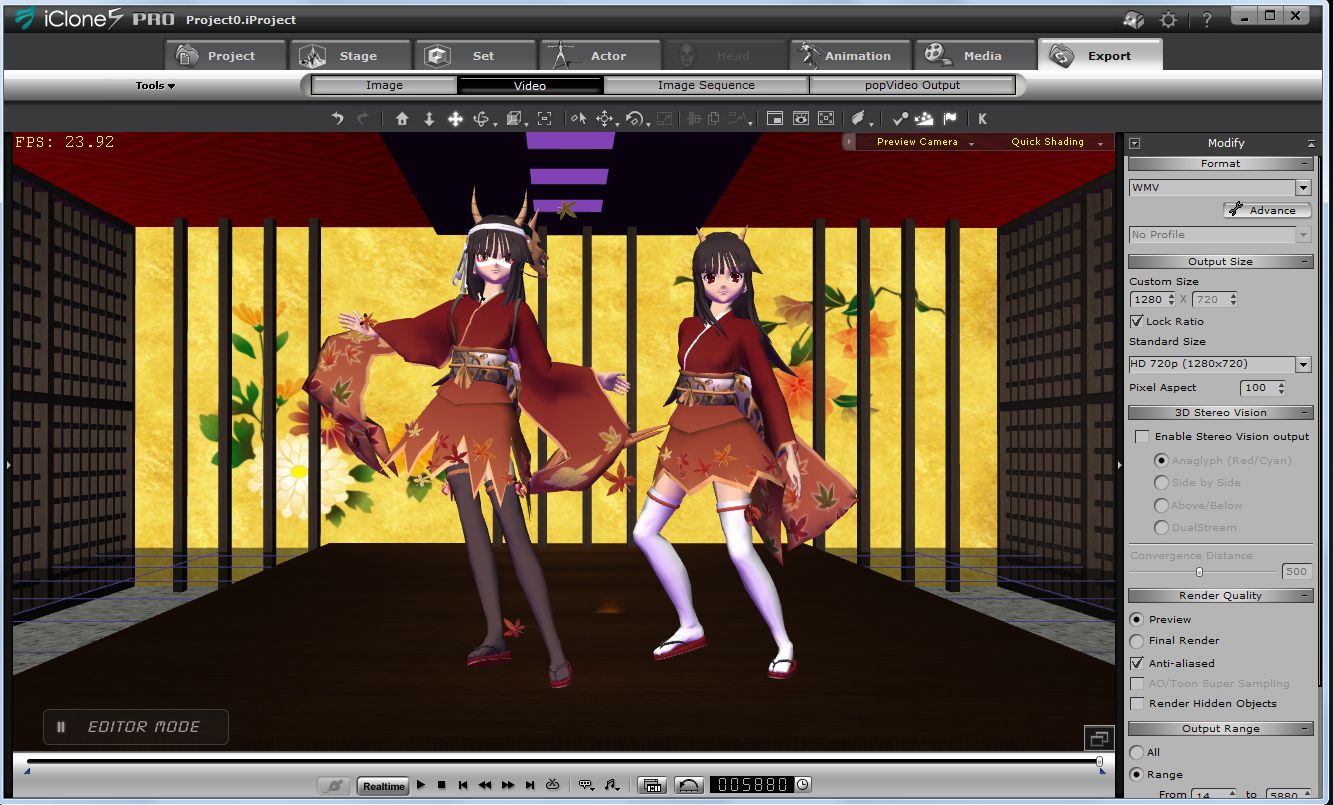
7 |
Final Demo Video is shown at YouTube. |
| |
|
3DXchange5 Pipeline Test Series 11: MMD to iClone5.4
2013. 4.13 by Hirospot (Personal Site) |