3DXchange5 Pipeline Test Series 10: MMD Mob Models
2013. 1.24 by Hirospot (Personal Site) |
Using PMCA to built MMD PD Mob models for iClone Use |
PMCA Mob model
Test on iClone
wmv: 3.1MB)
|
|
|
|
 印は日本語でのレポートです 印は日本語でのレポートです |
|
|
PMCA based Mob models on iClone5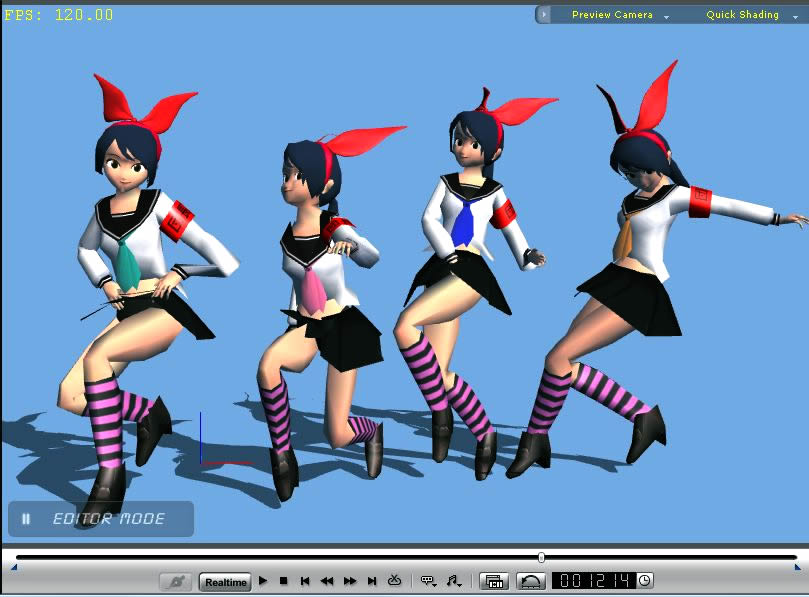
|
PMCA (PMD Mob Character Assembler) developed by Mr. Mato is a very convenient tool to produce many Mob characters for MMD use.
Thanks to him, PMCA resources are presented as PD(Public Domain) usage and only his assigned notation is needed when PMCA based modified model works and parts are distributed by users.
Because of the background Mob use, Assembled model shapes are simplified and designed to minimize the poligon counts of less than 5,000.
The tool includes boned 3 base human models of less than 2,000 poligon counts, approx. 100 premade PMD parts and materials.
|
In the tool, just combine parts of provided faces, hairs, upper and lower clothes, shoes, accessories, and scale each parts, then attach color materials with the 3D view image.
As finished work is saved in .pmd file for MMD use, which can be imported to not only MMD but when it is imported to LiveAnimation, FBX file with motion can be created for expanded use.
|
Here, in this test report, a Mob character assembled in PMCA is imported to LiveAnimation and Exported as FBX, then imported to 3DXchange5.
Further partial customizations for the model are possible by using "Replace Mesh" features by which model mesh is exported to a 3D tool, edited and imported with the same mesh counts.
These Mob models can be either exported as Mob model Props or converted to iClone Non-Standard Mob Model for iClone (and/or Unity) use. |
PMCA Author |
matoさんのぶろぐ visit (Japanese) |
License Notation |
|
Modeling Tool |
ARGILE 2 (OBJ Import, edit and Export). Used in this test report. |
Metasequoia (Not used in this test report)
|
|
Plugin for PMD |
Plugin for Metasequoia to import .pmd
|
pmdimpMQ  |
Plugin for Metasequoia to export .pmd |
ExportPMD  |
| Create FBX |
LiveAnimation_4.44 |
Pipeline |
3DXchange5.1.0829.1, Replace Mesh and Characterize |
Demo Movie |
iCLone5.32.2309.1, Adding Motion and video export |
|
1 |
Prepare PMCA and Python |
1.1 |
Please go to the following Bowl Roll site and download the Zip File. |
| |
|
1.2 |
Confirm Downlorded ZIP file and python-3.2.3.msi as follows |
| |
|
1.3 |
Install Pyton on your C Drive. |
| |
|
1.4 |
Install PMCD program and open. |
| |
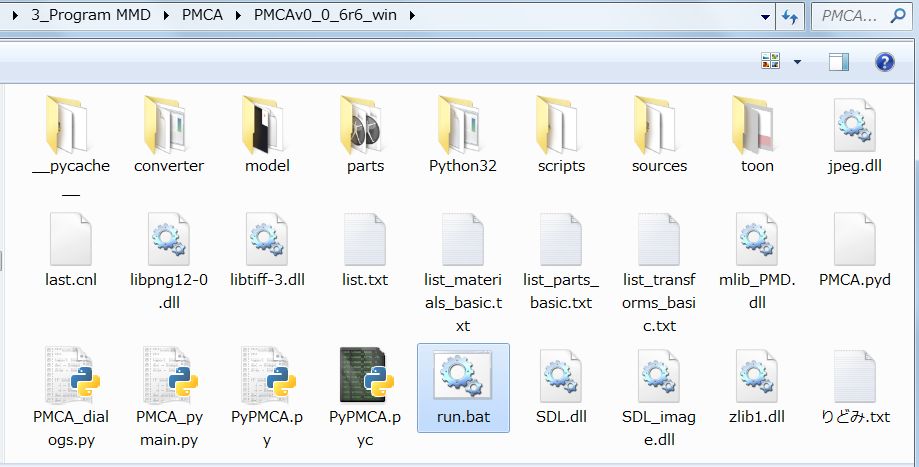
Make a shortcut for run.bat and double click on the icon.
 PMCD is consist of following files.
 |
2 |
PMCA Operation |
2.1 |
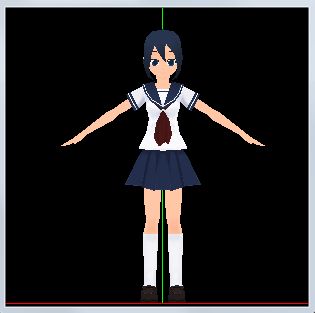
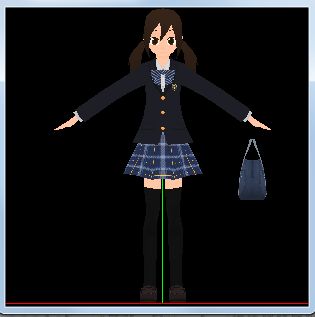
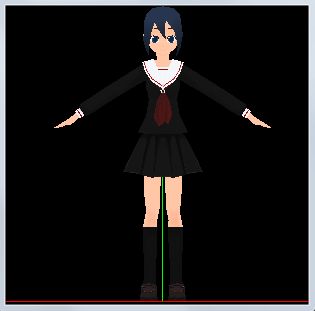
Intro:Following 3 school girls are priovided in the model folder for start up model. |
| |
sample1.cnl
 |
sample2.cnl
 |
sample3.cnl
 |
|
| 2.2 |
Intro:By selecting hair and slacks, boy model is available. |
| |
|
2.3 |
Intro:Use a Mouth Control in PMCA 3D View. |
| |
PMCA 3D View
Mouth Control
|
Left button to move,
|
Push and drag to the move direction |
Right button to rotate
|
Push and drag to the rotate direction |
| Center button to scale |
Push and drag downward to enlarge |
|
| |
Let's Start operation: |
| 2.4 |
Go to File/Open, select a model. Three windows are shown as follows; |
| |
|
2.5 |
Select face and Hair style for Front and Back side. |
| |
|
2.6 |
Change the back hair to ponytail, add ribbon and change the color. Armbelt is added. |
| |
|
2.7 |
Go to Trasform, Select body parts and adjust the scale for the target image.
Major Body parts are all adjustable. |
| |
|
2.8 |
Go to File (ファイル), Save the model with any Name (PMCA_mymodel.pmd). |
| |
|
3 |
Use LiveAnimation to convert .pmd to .fbx. |
3.1 |
Open LiveAnimation to convert the model from .pmd to .FBX |
| |
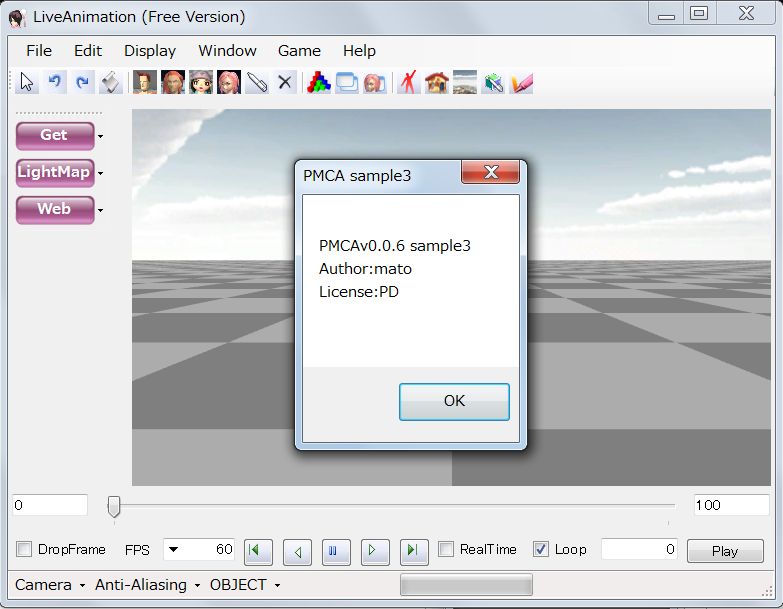
Go to File/Import/PMD and open "PMCA_mymodel.pmd"
Licese is shown as follows:
|
3.2 |
The model is shown with T-pose. |
| |
|
3.3 |
Go to Windows/AnimationEditor and push "MotionMirror" button |
3.4 |
Go to File/Export/FBX and export the T-posed model. |
3.5 |
Open 3DXchange5, Go to File/Open to mport the model. |
| |
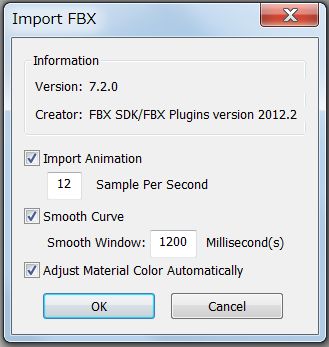 |
Check on the "Import Animation" at IMPORT FBX |
|
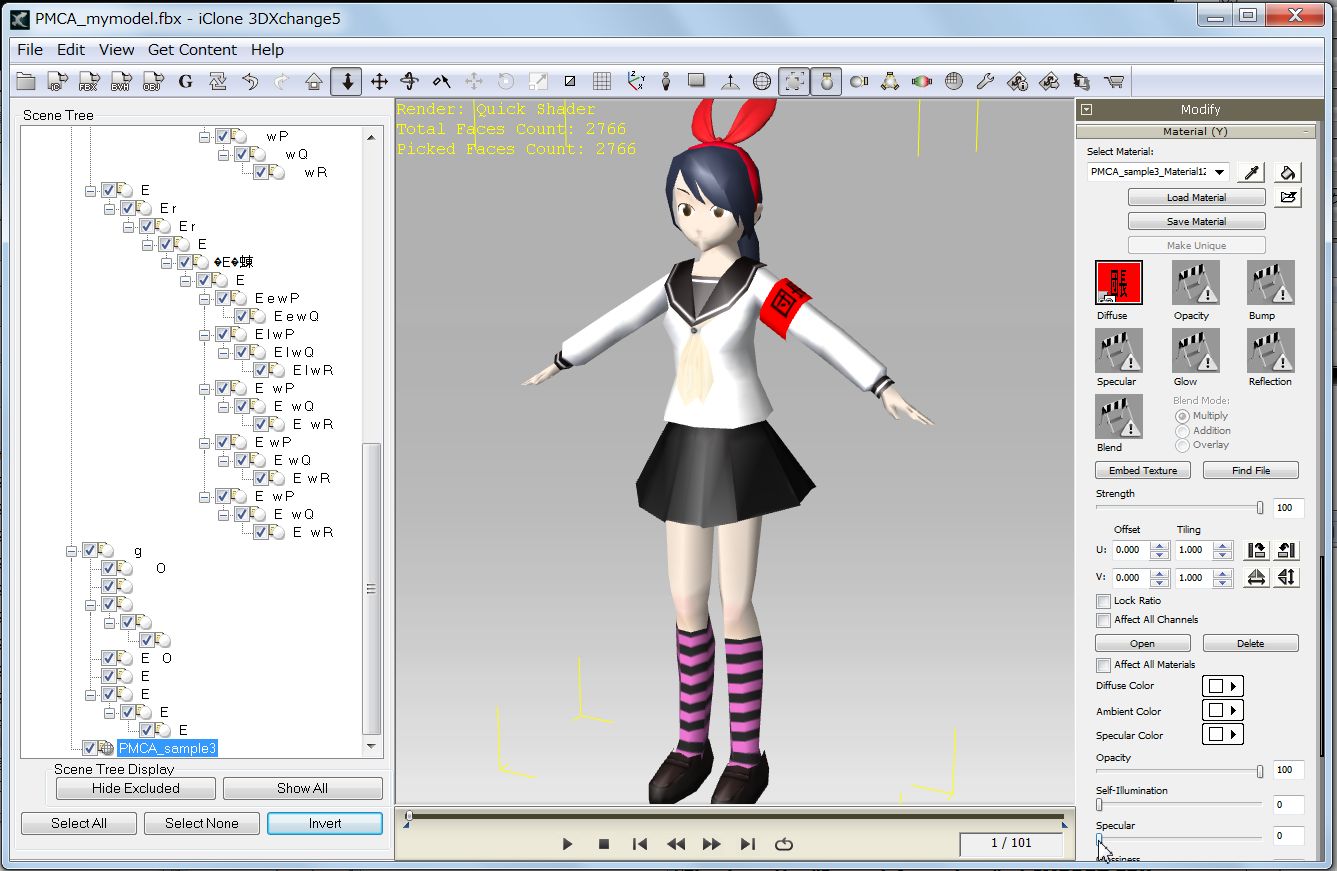
3.6 |
Use dropper and adjust specular value to correct the material color. |
|
Select "PMCS_sample3" at the bottom in the Scene Tree before the material adjustment.
 |
3.7 |
To confirm motion of 101 frames, Go toMotion Library. Push the motion name and Play button. |
| |
|
4 |
Customizing the PMCA model with 3DXchange5 and outer 3D Tool |
4.1 |
Keep selecting "PMCA_sample3" in the Scene Tree, go to Modify/Replace Mesh and push "Export Mesh" button. |
| |
|
4.2 |
Use any 3D Tool to edit OBJ file, adjust the mesh on the given model and save with the new name. |
| |
Mesh arrangement is done in ARGILE 2. Keep the same number of faces..
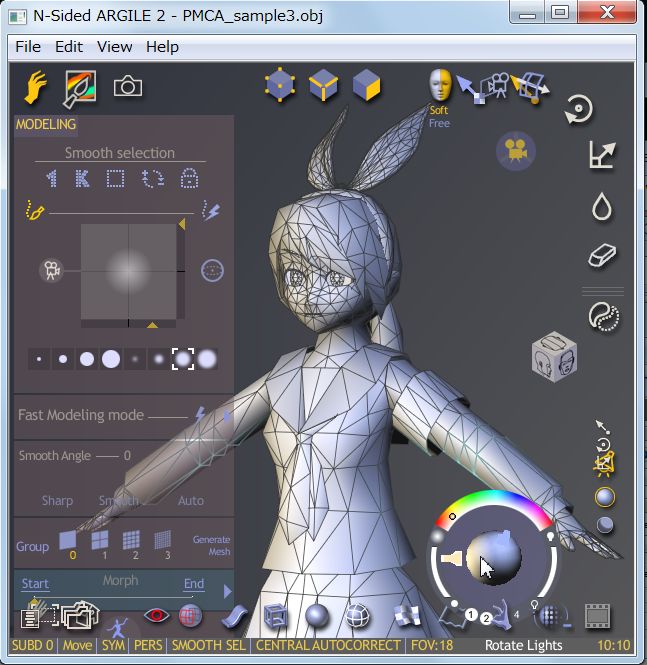
|
Edit Mesh carefully on 3D tool and check the result on the 3DXchange back and forth.
Keep versions for work steps
for safe.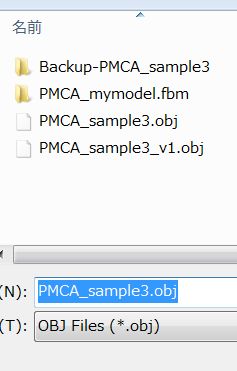
|
|
4.3 |
Push "Replace Mesh" button to get the edited new .obj file. |
| |
|
| 4.4 |
Characterizing the model |
| |
|
4.5 |
Remove Active check, select Right and Left arms, use Rotate Object tool to make T-Pose.
|
| |
|
4.6 |
Apply Right and Left Leg Roll to the Front bone top to prevent leg penetration to the skirt.
|
| |
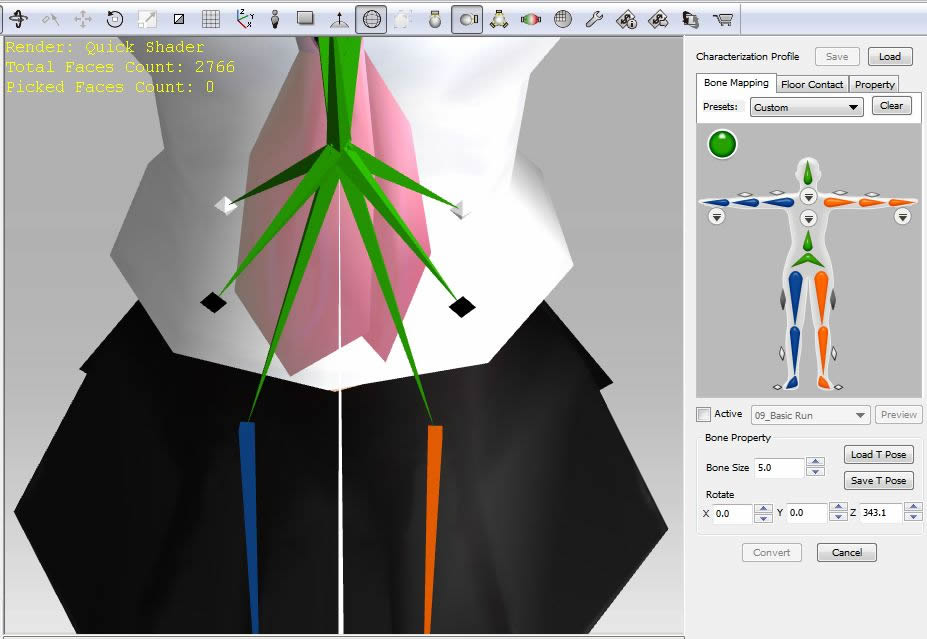 |
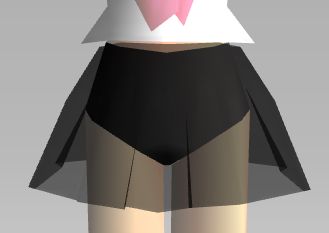
Body Mesh is adjusted
to get enough underwear.
 |
|
4.7 |
Check on Active and push "Convert" button to make iClone Non Standard Character. |
| |
|
5 |
Working on iClone5
|
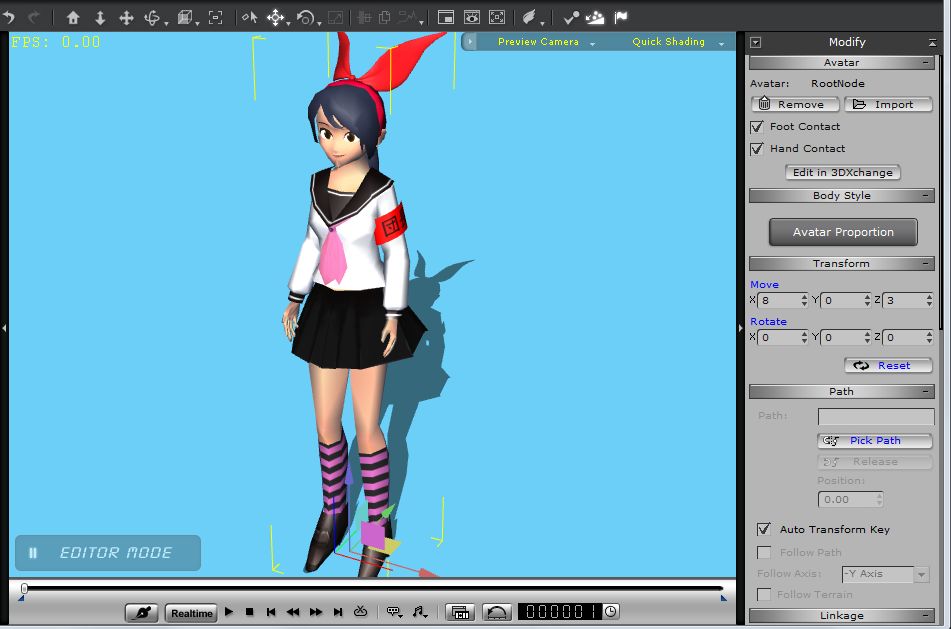
5.1 |
Check on "Foot Contact" and save the model. |
| |
How to save the model: Go to Actor/Avatar/Content Manager/Custom and push "Add" button.
|
5.2 |
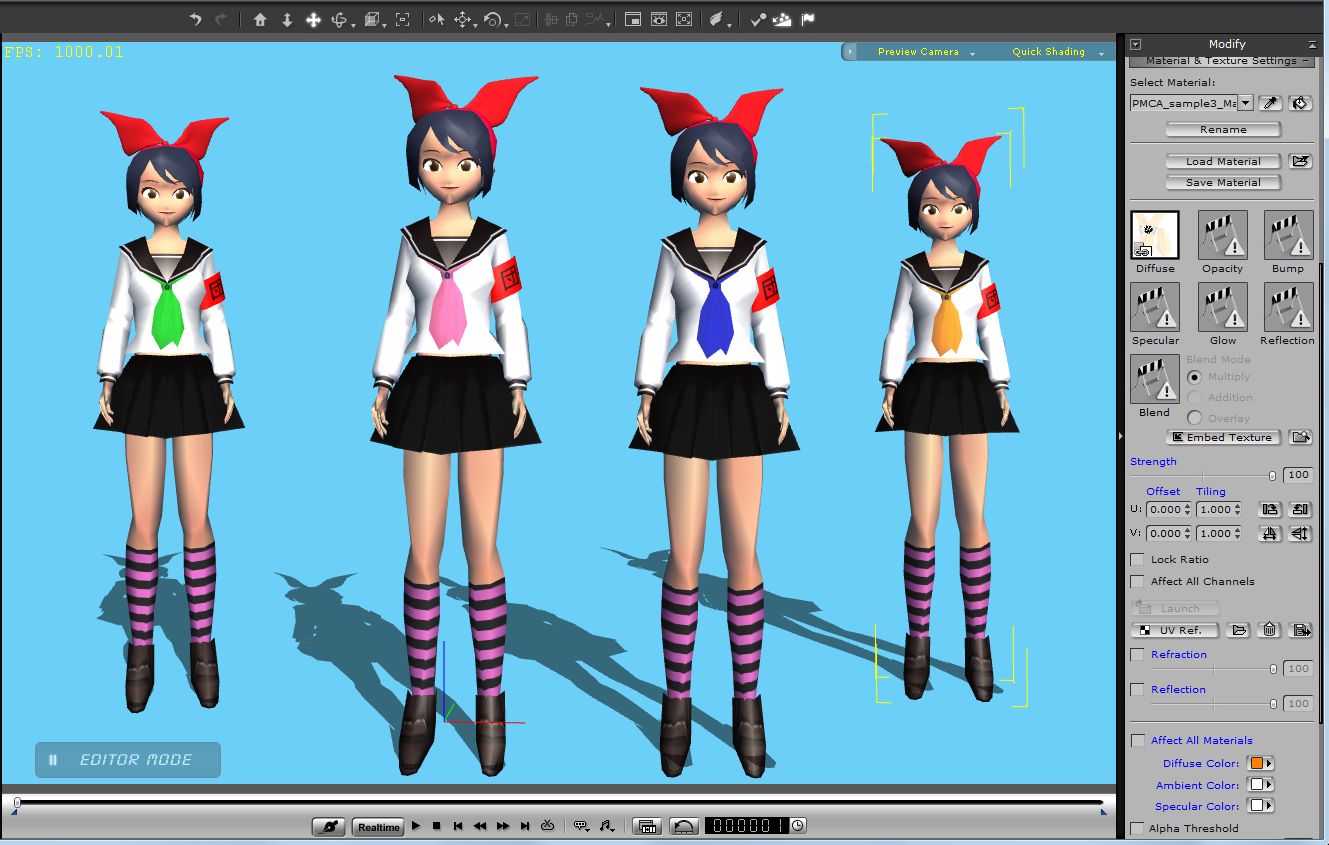
Duplicate the model for test video, try changing materials and colors for Mob use. |
| |
Modify Material Color: Select Actor/Skin/Modify/Material & Texture Settings.
Select a Model and use 'Pick' tool for selecting the part to be changed. Change its Diffuse, Specular and Grossiness.
When changing the material color, always set the time slider at frame '0'.
|
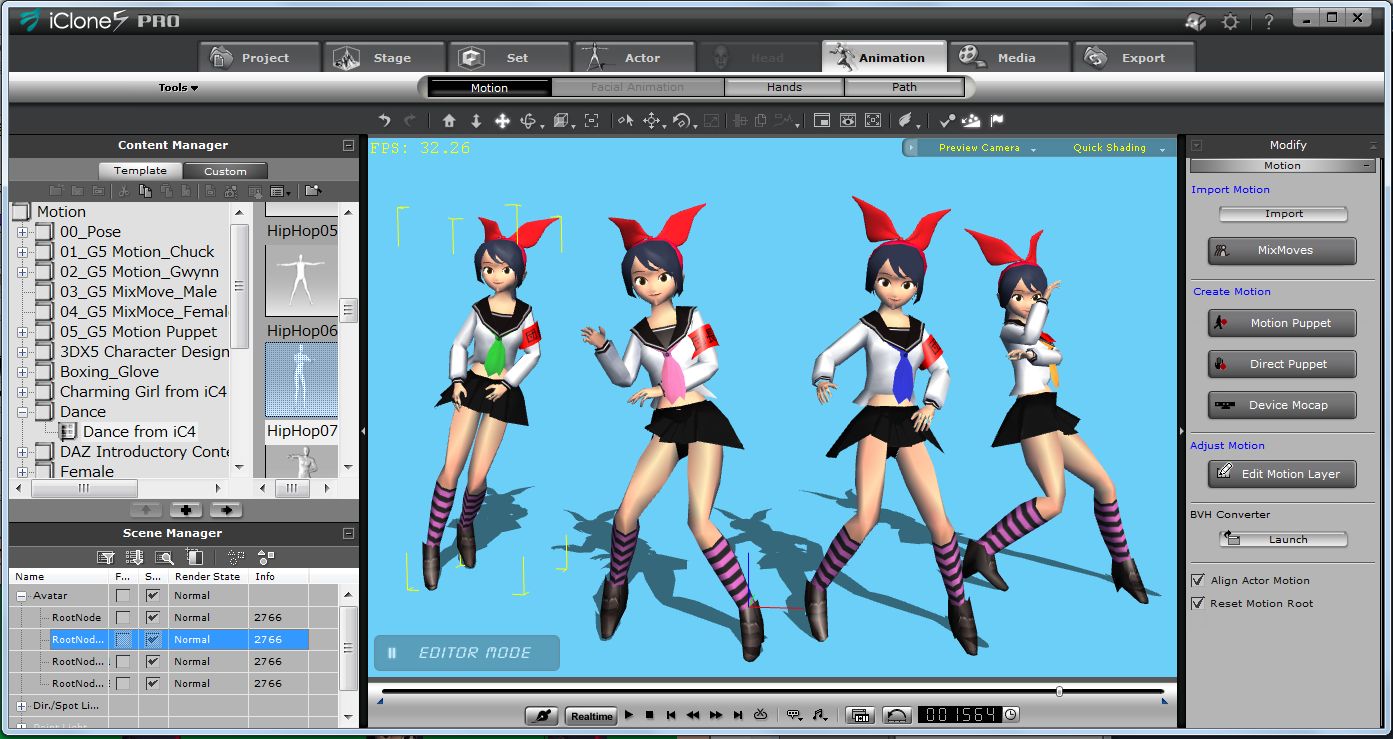
5.3 |
Apply Test Motion for all models and check the mesh inadequacies. |
| |
Test motion: HipHop07
|
| 5.4 |
Display the Timeline Table, select a model and edit the motion for needed frame. |
5.5 |
Go to Export/Modifiy, select Format. Output Size, Render Quality and Export the motion. |
| 5.6 |
Please find the test video. (wmv:3.1MB)
|
3DXchange5 Pipeline Test Series 10: MMD Mob Models
2013. 1.24 by Hirospot (Personal Site) |
